Install the Collibra DGC Connector in Anypoint Studio
Prerequisites
- You have downloaded Collibra DGC Connector 2.0.9 (Collibra Connect and DGC Connector tab) from the Collibra Community downloads page.
- You have downloaded the pom.xml file from the Collibra DGC Connector 2.0.9 section of the Collibra Community downloads page to a dedicated location.
- You have installed Anypoint Studio 7.x.
- You have installed Apache Maven 3.x or higher.
Steps
- Open a shell session or command prompt.
- Go to the directory with the connector JAR file.
- Install the connector with the following case-sensitive command:
- Start Anypoint Studio 7.
- Open a project with a Collibra DGC integration template or create a new project.
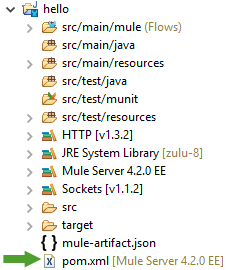
- In the project, locate pom.xml and double-click the file to open its details.

- On the canvas, right-click dependencies.
- From the context-menu, select Add Child and click dependency.
A new dependency is added. - Right-click the newly created dependency, select Add Child and click artifactId.
- Repeat the previous step to add the following children:
- groupId
- version
- classifier
- Click in the Content column of the added children and enter the following information:
Dependency
Content (examples for Collibra Connect 2.0.9)
artifactId dgc.connector classifier mule-plugin groupId com.collibra.connect version 2.0.9 - Save the pom.xml file.
- Reopen your project.
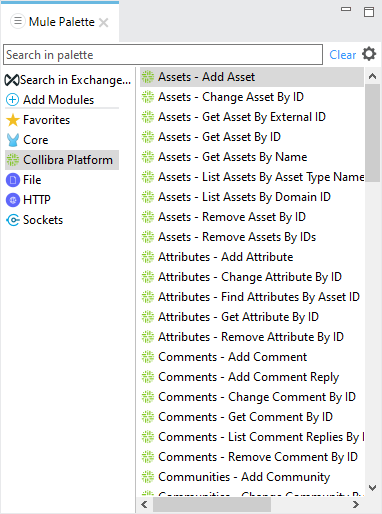
The CollibraDGC connector appears in the Mule Palette.
mvn install:install-file -Dfile=dgc.connector-<version_number>-mule-plugin.jar \
-DgroupId=com.collibra.connect -DartifactId=dgc.connector \
-Dversion=<version_number> -Dclassifier=mule-plugin -Dpackaging=jar \
-DpomFile=<path_to_downloaded_pom.xml_file>

To view the full mapping structure for Collibra resources when using the Transform Message component:
- In the Anypoint Studio main menu, click Window → Preferences.
- In the Preferences window, select Anypoint Studio → DataWeave.
- In the DataWeave pane, set the Level of recursion to 10 if it has a lower value.
- Click Apply and Close.