Collibra Connect is End of Life and therefore no longer supported. This documentation is no longer maintained and is likely out of date, but it remains available for reference purposes.
Getting started with Collibra Connect
In this tutorial you learn about the Collibra Connect prerequisites and install MuleSoft Anypoint Studio and the Collibra Connector. Anypoint Studio is an Integrated Development Environment (IDE) for designing and testing Mule applications.
Collibra Connect is based on the Mule platform. Mule is a lightweight, Java-based enterprise service bus (ESB) and integration framework provided by MuleSoft.
Mule eliminates the need for point-to-point connectivity. It uses out-of-the-box templates to connect Collibra Data Governance Center to a variety of third-party applications through the Collibra DGC REST API.
Prerequisites
- You have the latest version of the Java SE Development Kit 8 installed.
To check if you have a JDK already installed, type java -version in your command line. For more information, see the JDK requirements corresponding to your Anypoint Studio version in the MuleSoft documentation.
Hardware Requirements
- 4 GB RAM
- 2 GHz CPU
- 10 GB free hard disk space
MuleSoft Anypoint Studio
Anypoint Studio provides both a visual and an XML editor to design and craft your applications. It also allows you to edit API definition files and create domains that define shared resources.
Installation
- Go to the Collibra Community Mule Anypoint Studio page.
- Download the latest version of MuleSoft Anypoint Studio corresponding with your operating system.
- Install Anypoint Studio:
OS Procedure Windows Extract the archive in the C:\ root folder. macOS - Extract the archive.
- Save the AnypointStudio application in the Applications folder.
Linux Extract the archive.
If you get Java related warnings, make sure you have the correct versions of the Java Development Kit and Java Runtime Environment installed and configured. For more details, see the Anypoint Studio JDK Requirement.
Initial setup
The first time you start Anypoint Studio, you need to select a workspace, a folder where your projects are stored.
- Open Anypoint Studio.
- Click Launch to accept the default workspace when prompted or set a custom folder.

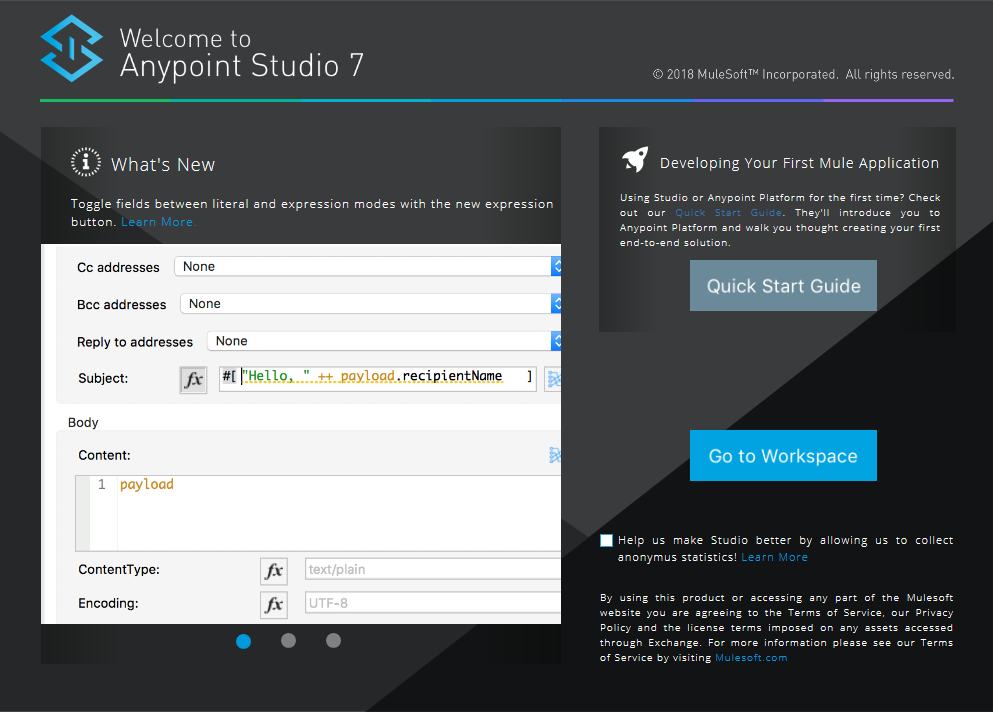
A welcome message is displayed the first time Anypoint Studio starts or whenever the workspace folder is deleted.
Use the absolute path for macOS and Linux when setting a custom workspace folder.
- Click OK to close the welcome message.
- Accept or reject the anonymous statistics collection message.
- Click Go to Workspace to start using Anypoint Studio.
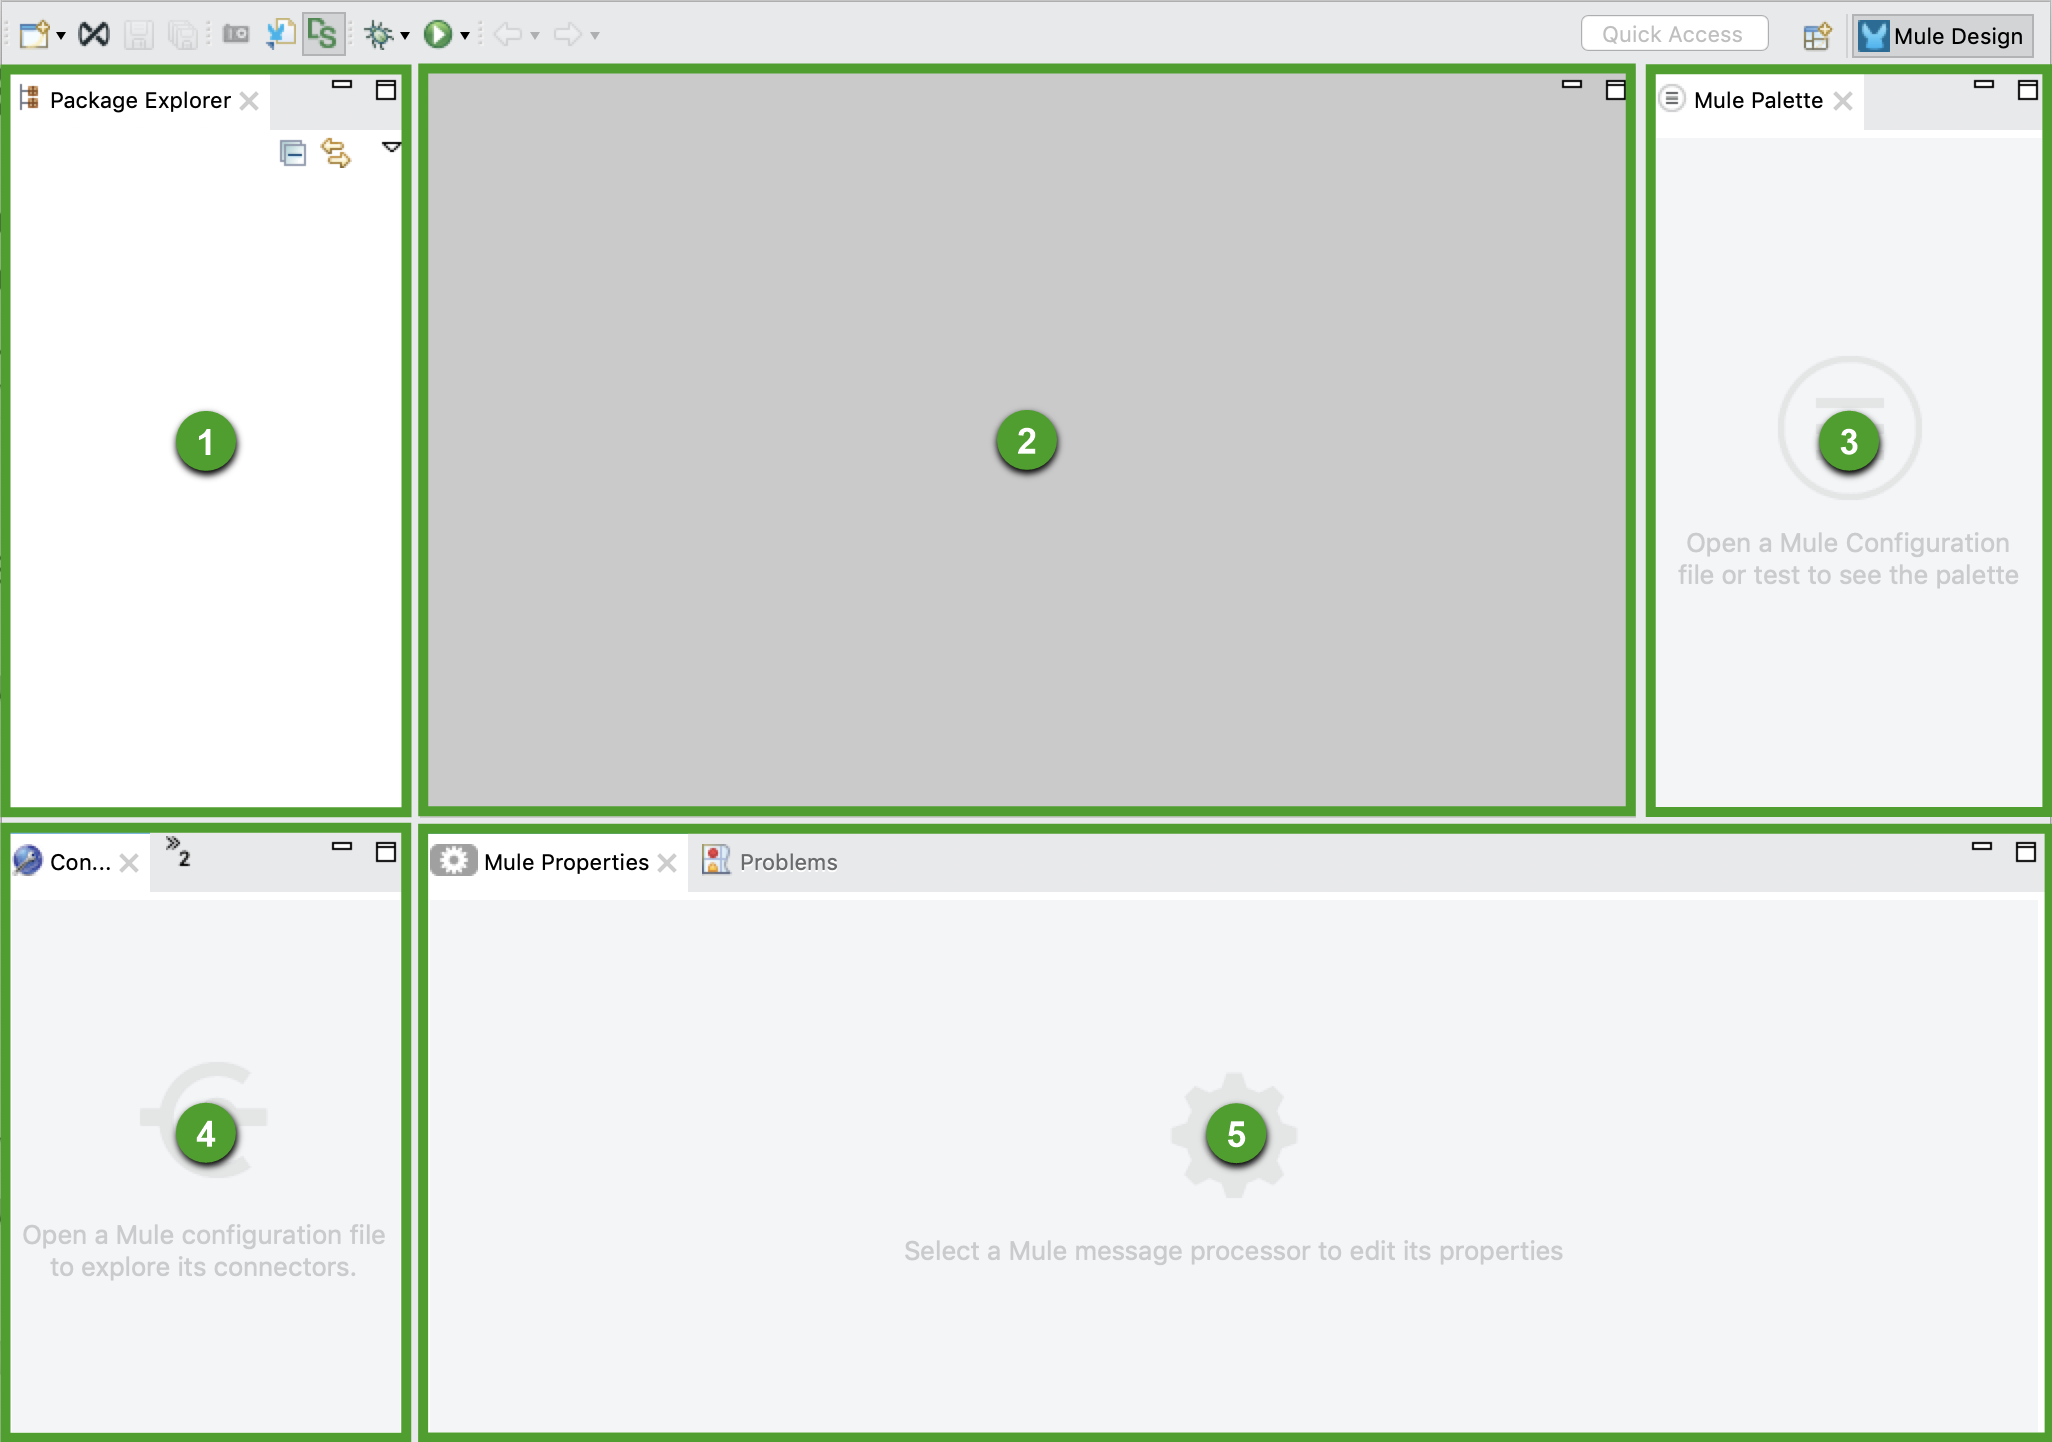
Interface
The Anypoint Studio default interface is divided into several views containing one or more tabs:
|
Element |
Name |
Description |
|---|---|---|
| 1 | Package Explorer | A tree list display of files and folders associated with the current project. |
| 2 | Canvas | A space containing either a visual or XML representation of the project and the global elements, which are reusable configurations. |
| 3 | Palette | A list of drag-and-drop building blocks for your application. |
| 4 | Connection Explorer | A list of global connector configurations contained by your application. |
| 5 | Console | A list of application events and errors (if any). |
CollibraDGC connector
The Collibra DGC connector has several versions designed to be compatible with specific Collibra DGC, Mule or Collibra API versions. For more details, see Collibra Connect Compatibility.
Dependencies
- The installation of the latest CollibraDGC connector depends on Apache Maven 3.x or higher. For installation instructions, see Installing Apache Maven.
- You have downloaded the pom.xml file from the Collibra DGC Connector section of the Collibra Community downloads page to a dedicated location.
Installation
- Open a shell session or command prompt.
- Go to the directory with the connector JAR file.
- Install the connector with the following case-sensitive command:
- Start Anypoint Studio.
- Open a project with a Collibra DGC integration template or create a new project.
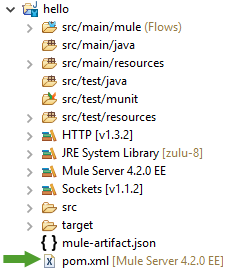
- In the project, locate pom.xml and double-click the file to open its details.
- On the canvas, right-click dependencies.
- From the context-menu, select Add Child and click dependency.
A new dependency is added. - Right-click the newly created dependency, select Add Child and click artifactId.
- Repeat the previous step to add the following children:
- groupId
- version
- classifier
- Click in the Content column of the added children and enter the following information:
Dependency
Content (examples for Collibra Connect 2.0.9)
artifactId dgc.connector classifier mule-plugin groupId com.collibra.connect version 2.0.9 - Save the pom.xml file.
- Reopen your project.
The CollibraDGC connector appears in the Mule Palette.
mvn install:install-file -Dfile=dgc.connector-<version_number>-mule-plugin.jar \
-DgroupId=com.collibra.connect -DartifactId=dgc.connector \
-Dversion=<version_number> -Dclassifier=mule-plugin -Dpackaging=jar \
-DpomFile=<path_to_downloaded_pom.xml_file>Additional resources
- Read the MuleSoft About Anypoint Studio documentation for more information and full installation instructions.
- Join the Collibra Community Product Questions & Answers discussion.
- Get familiar with the Anypoint Studio interface by following the Basic Studio Tutorial.