> For the complete documentation index, see [llms.txt](https://developer.collibra.com/llms.txt). Markdown versions of documentation pages are available by appending `.md` to page URLs; this page is available as [Markdown](https://developer.collibra.com/tutorials/tableau-google-bigquery-configuration.md).
# Tableau - Google BigQuery configuration
## Prerequisites
* Access to a Google Cloud Platform account.
* The Reporting Data Layer stored in a Google Cloud Bucket.
* You have created the required [tables and views in BigQuery](/tutorials/configure-google-cloud-platform-for-collibra-insights-consumption.md).
## Tableau configuration
### Connect to Google BigQuery
{% stepper %}
{% step %}
In Tableau Desktop, select **Connect** → **To a Server** → **Google BigQuery**.\ :chevrons-right: A browser window appears.
{% endstep %}
{% step %}
In the browser, sign in with your Google account.
{% endstep %}
{% step %}
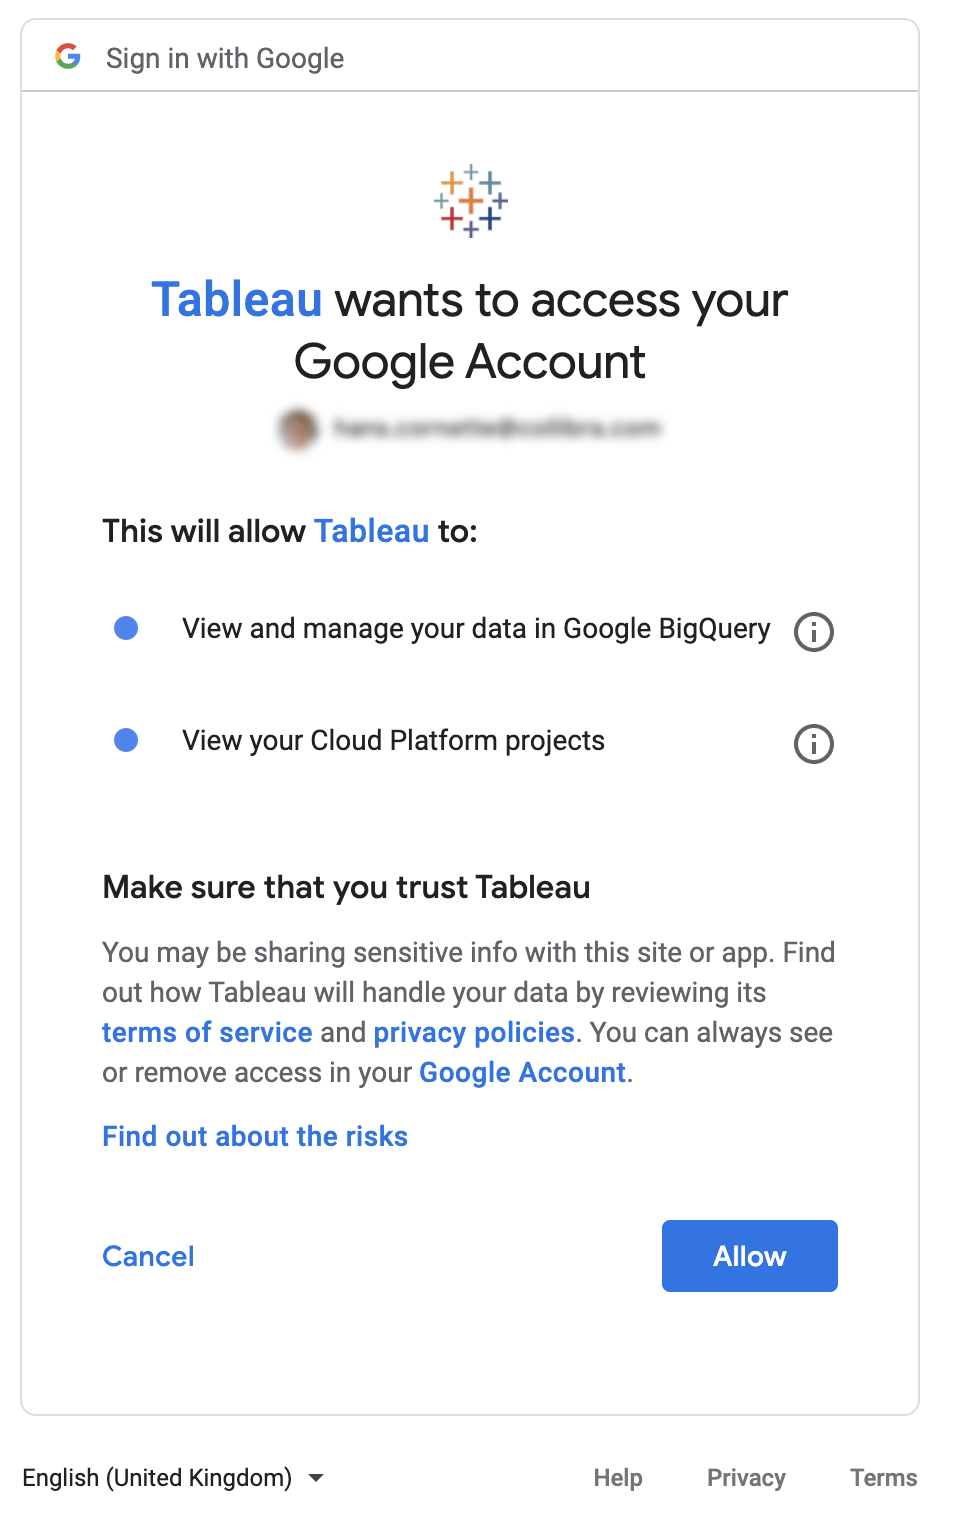
Allow Tableau to access your Google account.
 {% endstep %}
{% step %}
In Tableau Desktop, select your Google BigQuery dataset details:
* **Billing Project**: for example, *Collibra Insights*.
* **Project**: for example, *Collibra Insights*.
* **Dataset**: for example, *insights*.
:chevrons-right: The tables of the dataset become available.
{% endstep %}
{% endstepper %}
### Test the connection
{% stepper %}
{% step %}
In Tableau, select **New Custom SQL**.
{% endstep %}
{% step %}
Enter the following query:
```sql
select
c.community_name,
d.domain_name,
a.*
from insights.asset a
join insights.domain d
on a.domain_id = d.domain_id
join insights.community c
on c.community_id = d.community_id
```
{% endstep %}
{% step %}
Click **OK** to run the query.
{% endstep %}
{% step %}
Select **Update Now** to view the data.
{% endstep %}
{% endstepper %}
### Create the report
{% stepper %}
{% step %}
Create a new Tableau sheet and perform the following actions:
1. From the **Dimensions** section, drag **community\_name** to the **Rows** section.
2. From the **Measures** section, drag **Number of Records** to the **Columns** section.
3. From the **Measures** section, drag **Number of Records** to the **Marks** section, on top of the **Label** icon.
4. In the **Marks** section, choose **Bar**.
5. Sort the chart in descending order by **Sum of Records**.

{% endstep %}
{% step %}
Provide a meaningful name for the sheet, for example, *Number of assets per community*.
{% endstep %}
{% step %}
Create a new dashboard, for example, *Assets per community*.
{% endstep %}
{% step %}
Drag the sheet to the dashboard.
{% endstep %}
{% step %}
Save the workbook.
{% endstep %}
{% endstepper %}
### Publish the data
{% stepper %}
{% step %}
Sign in to Tableau Server: **Server** → **Sign In...**.
{% endstep %}
{% step %}
Choose a site.
{% endstep %}
{% step %}
Select **Server** → **Publish Workbook...**.\ :chevrons-right: A browser window appears.
{% endstep %}
{% step %}
In the browser, sign in with your Google account.
{% endstep %}
{% step %}
Allow Tableau Server to access your Google account.\ :chevrons-right: Tableau Desktop displays the published workbook.

{% endstep %}
{% endstepper %}
---
# Agent Instructions
This documentation is published with GitBook. GitBook is the documentation platform designed so that both humans and AI agents can read, navigate, and reason over technical content effectively. Learn more at gitbook.com.
## Querying This Documentation
If you need additional information that is not directly available in this page, you can query the documentation by asking a question.
Perform an HTTP GET request on the following URL with the `ask` and `goal` query parameters:
```
GET https://developer.collibra.com/tutorials/tableau-google-bigquery-configuration.md?ask=&goal=
```
`ask` is the immediate question: it should be specific, self-contained, and written in natural language.
`goal` is what the user is ultimately trying to achieve, the reason they need the answer. Sharing it helps GitBook give you a better, more relevant answer. A goal is most helpful when it describes the outcome the user wants rather than restating the question. For example, with `ask=how do I create an API token`, a goal like `automate deployments from our CI pipeline` lets GitBook tailor the answer to that use case.
The response will contain a direct answer to the question and relevant excerpts and sources from the documentation.
Use this mechanism when the answer is not explicitly present in the current page, you need clarification or additional context, or you want to retrieve related documentation sections.
{% endstep %}
{% step %}
In Tableau Desktop, select your Google BigQuery dataset details:
* **Billing Project**: for example, *Collibra Insights*.
* **Project**: for example, *Collibra Insights*.
* **Dataset**: for example, *insights*.
:chevrons-right: The tables of the dataset become available.
{% endstep %}
{% endstepper %}
### Test the connection
{% stepper %}
{% step %}
In Tableau, select **New Custom SQL**.
{% endstep %}
{% step %}
Enter the following query:
```sql
select
c.community_name,
d.domain_name,
a.*
from insights.asset a
join insights.domain d
on a.domain_id = d.domain_id
join insights.community c
on c.community_id = d.community_id
```
{% endstep %}
{% step %}
Click **OK** to run the query.
{% endstep %}
{% step %}
Select **Update Now** to view the data.
{% endstep %}
{% endstepper %}
### Create the report
{% stepper %}
{% step %}
Create a new Tableau sheet and perform the following actions:
1. From the **Dimensions** section, drag **community\_name** to the **Rows** section.
2. From the **Measures** section, drag **Number of Records** to the **Columns** section.
3. From the **Measures** section, drag **Number of Records** to the **Marks** section, on top of the **Label** icon.
4. In the **Marks** section, choose **Bar**.
5. Sort the chart in descending order by **Sum of Records**.

{% endstep %}
{% step %}
Provide a meaningful name for the sheet, for example, *Number of assets per community*.
{% endstep %}
{% step %}
Create a new dashboard, for example, *Assets per community*.
{% endstep %}
{% step %}
Drag the sheet to the dashboard.
{% endstep %}
{% step %}
Save the workbook.
{% endstep %}
{% endstepper %}
### Publish the data
{% stepper %}
{% step %}
Sign in to Tableau Server: **Server** → **Sign In...**.
{% endstep %}
{% step %}
Choose a site.
{% endstep %}
{% step %}
Select **Server** → **Publish Workbook...**.\ :chevrons-right: A browser window appears.
{% endstep %}
{% step %}
In the browser, sign in with your Google account.
{% endstep %}
{% step %}
Allow Tableau Server to access your Google account.\ :chevrons-right: Tableau Desktop displays the published workbook.

{% endstep %}
{% endstepper %}
---
# Agent Instructions
This documentation is published with GitBook. GitBook is the documentation platform designed so that both humans and AI agents can read, navigate, and reason over technical content effectively. Learn more at gitbook.com.
## Querying This Documentation
If you need additional information that is not directly available in this page, you can query the documentation by asking a question.
Perform an HTTP GET request on the following URL with the `ask` and `goal` query parameters:
```
GET https://developer.collibra.com/tutorials/tableau-google-bigquery-configuration.md?ask=&goal=
```
`ask` is the immediate question: it should be specific, self-contained, and written in natural language.
`goal` is what the user is ultimately trying to achieve, the reason they need the answer. Sharing it helps GitBook give you a better, more relevant answer. A goal is most helpful when it describes the outcome the user wants rather than restating the question. For example, with `ask=how do I create an API token`, a goal like `automate deployments from our CI pipeline` lets GitBook tailor the answer to that use case.
The response will contain a direct answer to the question and relevant excerpts and sources from the documentation.
Use this mechanism when the answer is not explicitly present in the current page, you need clarification or additional context, or you want to retrieve related documentation sections.