Set a default filter in Collibra for Desktop
Collibra for Desktop automatically uses filters from your Collibra Data Intelligence Cloud. These filters allow you to narrow down your search results. If you find that you use one particular filter more often than others, you can set it as the default filter so it applies to every search query you make.
Set a default filter
- Open the Collibra for Desktop application.
- In the bottom-right corner, click the
 , and then click Settings.
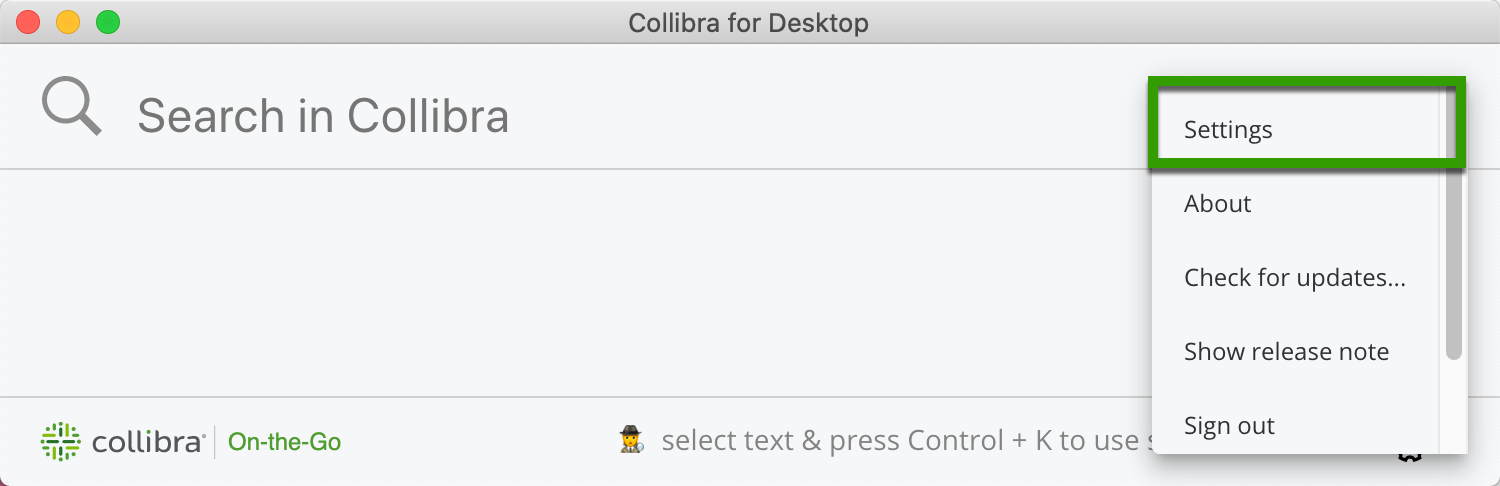
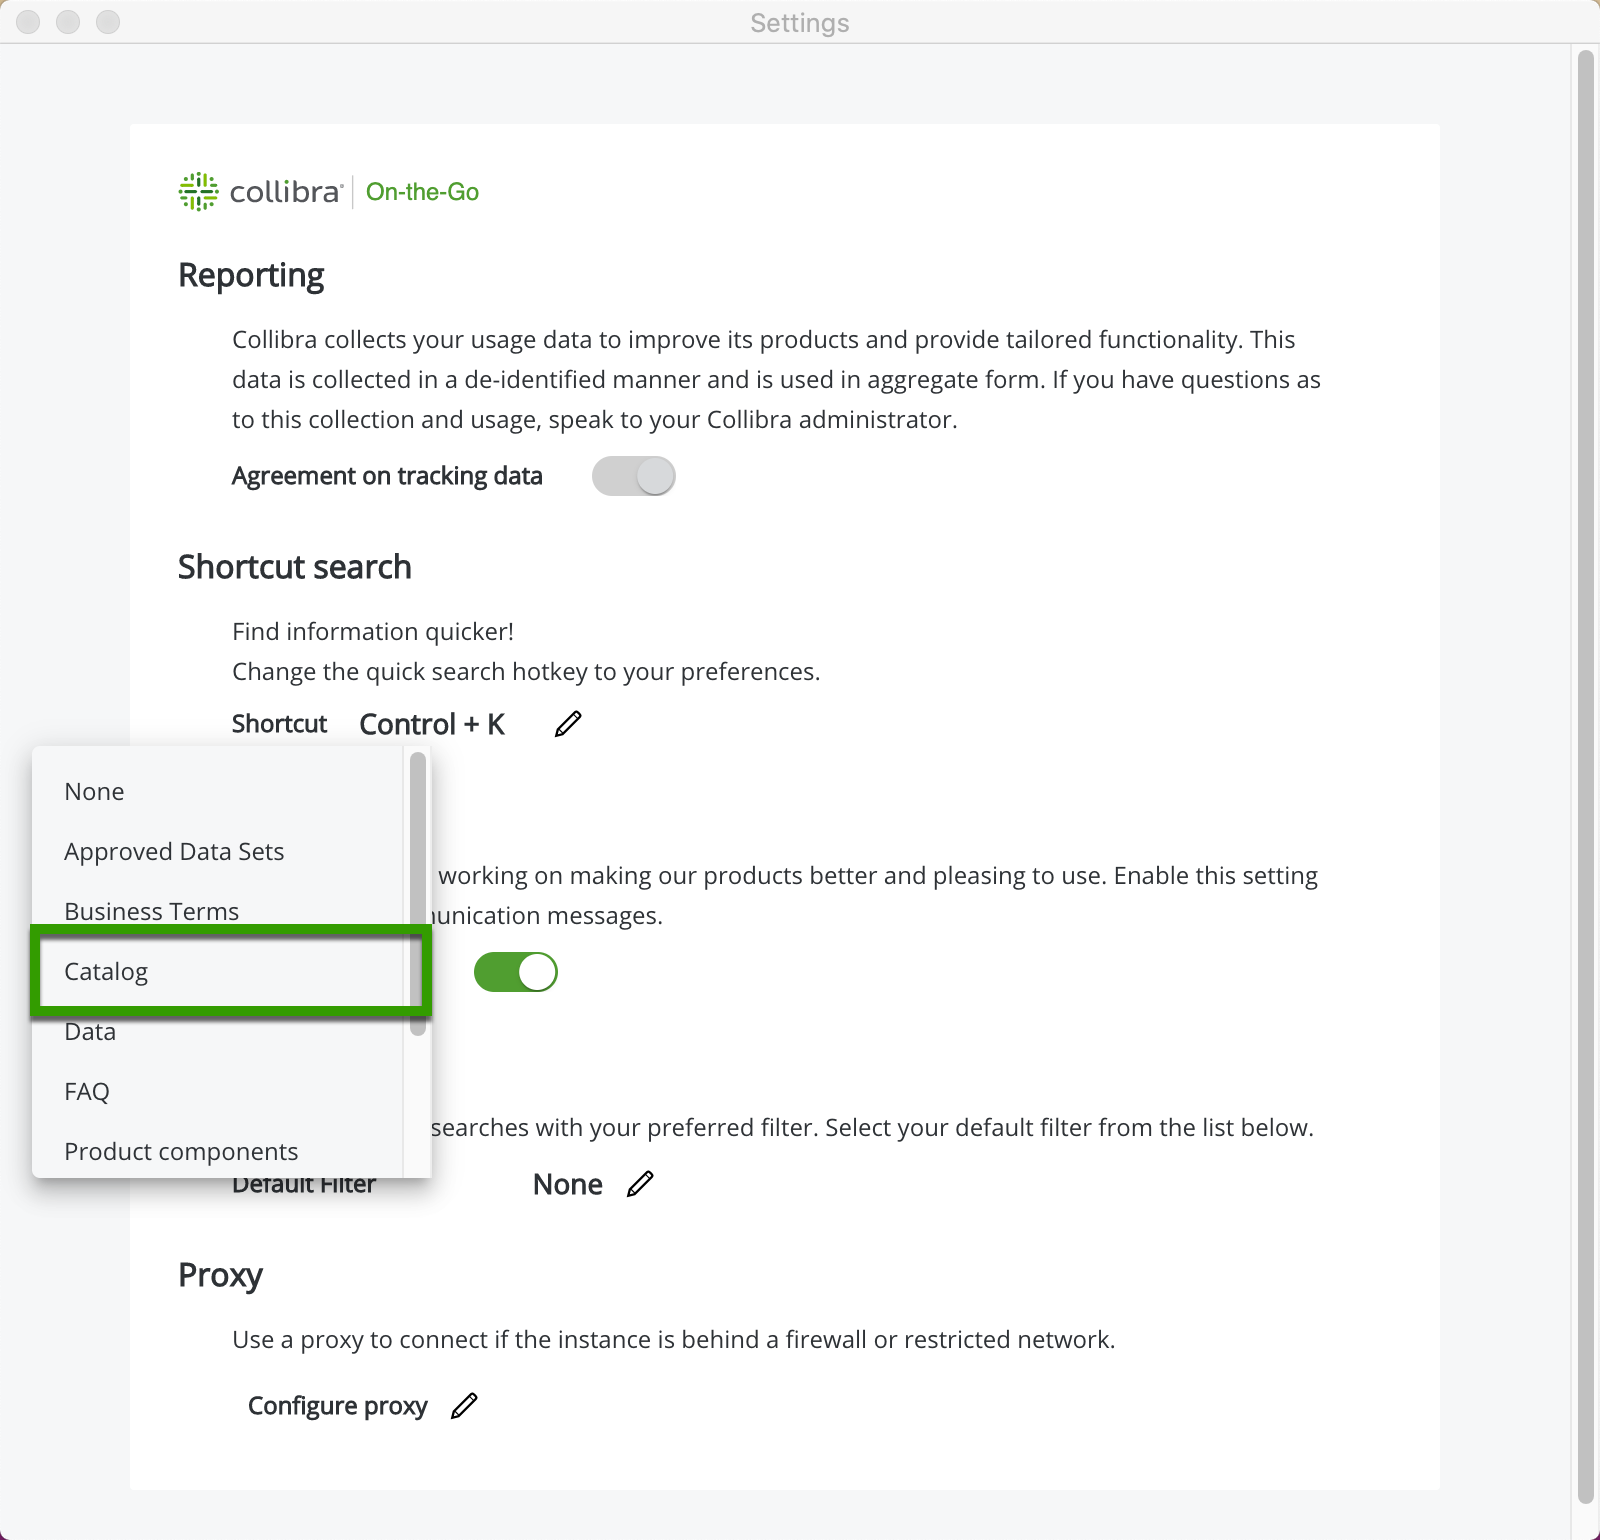
- Scroll to the Default Filter section, and click the
 .
. - Select a filter from the list, and then close the Settings window. The next time you search for data, the search results displays results based on the default filter you selected.
There are two types of filters: ones that you defined and ones your administrator defined during setup. Setting the default filter in Collibra for Desktop overrides the default filters set by your administrator. To learn more, see Filtering search results.
Reset the default filter
To bring the default filter back to the original settings, return to the Settings window, and select None. The administrator's settings will override any changes you made.
Use the default filters
You can see the available filters just below the search field. The default filter displays second in the list. To use a filter, type your term in the search field, then click on any filter to narrow the results.

To see the unfiltered search results, select All.

Add or delete filters
You cannot add or delete filters in the Collibra for Desktop application. To make changes, sign in to Collibra Data Intelligence Cloud and make the changes there. To learn more, see Navigating and refining the Search Results.