Create a workflow project
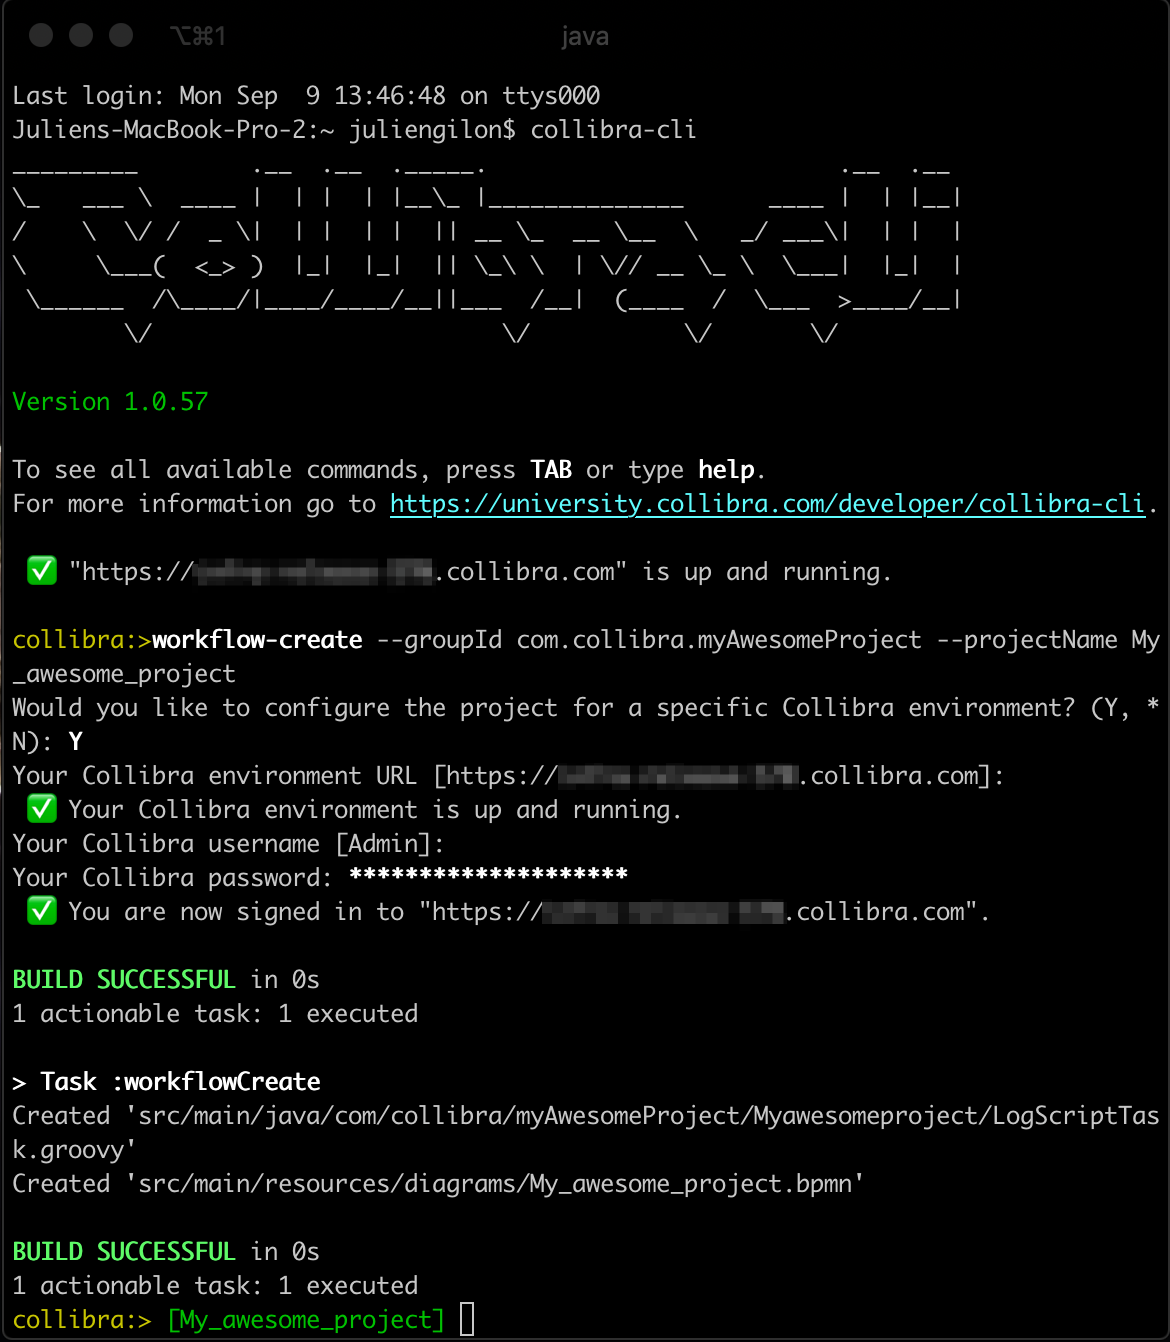
With Collibra Command Line Interface, you can create a workflow project with a single command.
workflow-create --groupId com.collibra.myProject --projectName My_project
The fully configured project contains:
- An example of a hello world BPMN.
- An example of a script task printing hello world in the logs.
- The Collibra API dependencies.
- A set of Gradle tasks for uploading your workflow from the CLI, Eclipse or your terminal to your Collibra Data Intelligence Cloud.
Command
workflow-create
|
Description |
Options |
Output |
|---|---|---|
| Create a Collibra workflow project. |
|
The project is generated in the folder you have started the CLI. The project folder contains:
The source folder (src/) contains a Java folder with an example of a groovy script and a resource folder with an example of a BPMN file. |
Use the reverse URL of your company and add the project name as a suffix for the Gradle project group. For example: com.collibra.myProject.
The Gradle project name becomes the name of the generated BPMN file.
Spaces are not allowed in the Gradle project name.
You cannot create a workflow project for Eclipse using the workflow-create command when the Collibra version setup or the target version are other than 5.6 or 5.7.
As a workaround, you can do either of the following:
- Set the
targetVersionparameter of theworkflow-createcommand to 5.7 or 5.6, for exampleworkflow-create --groupId com.collibra.myProject --projectName My_project --targetVersion 5.7. - Connect to a Collibra environment with version 5.6 or 5.7 using the
collibra-setcommand.
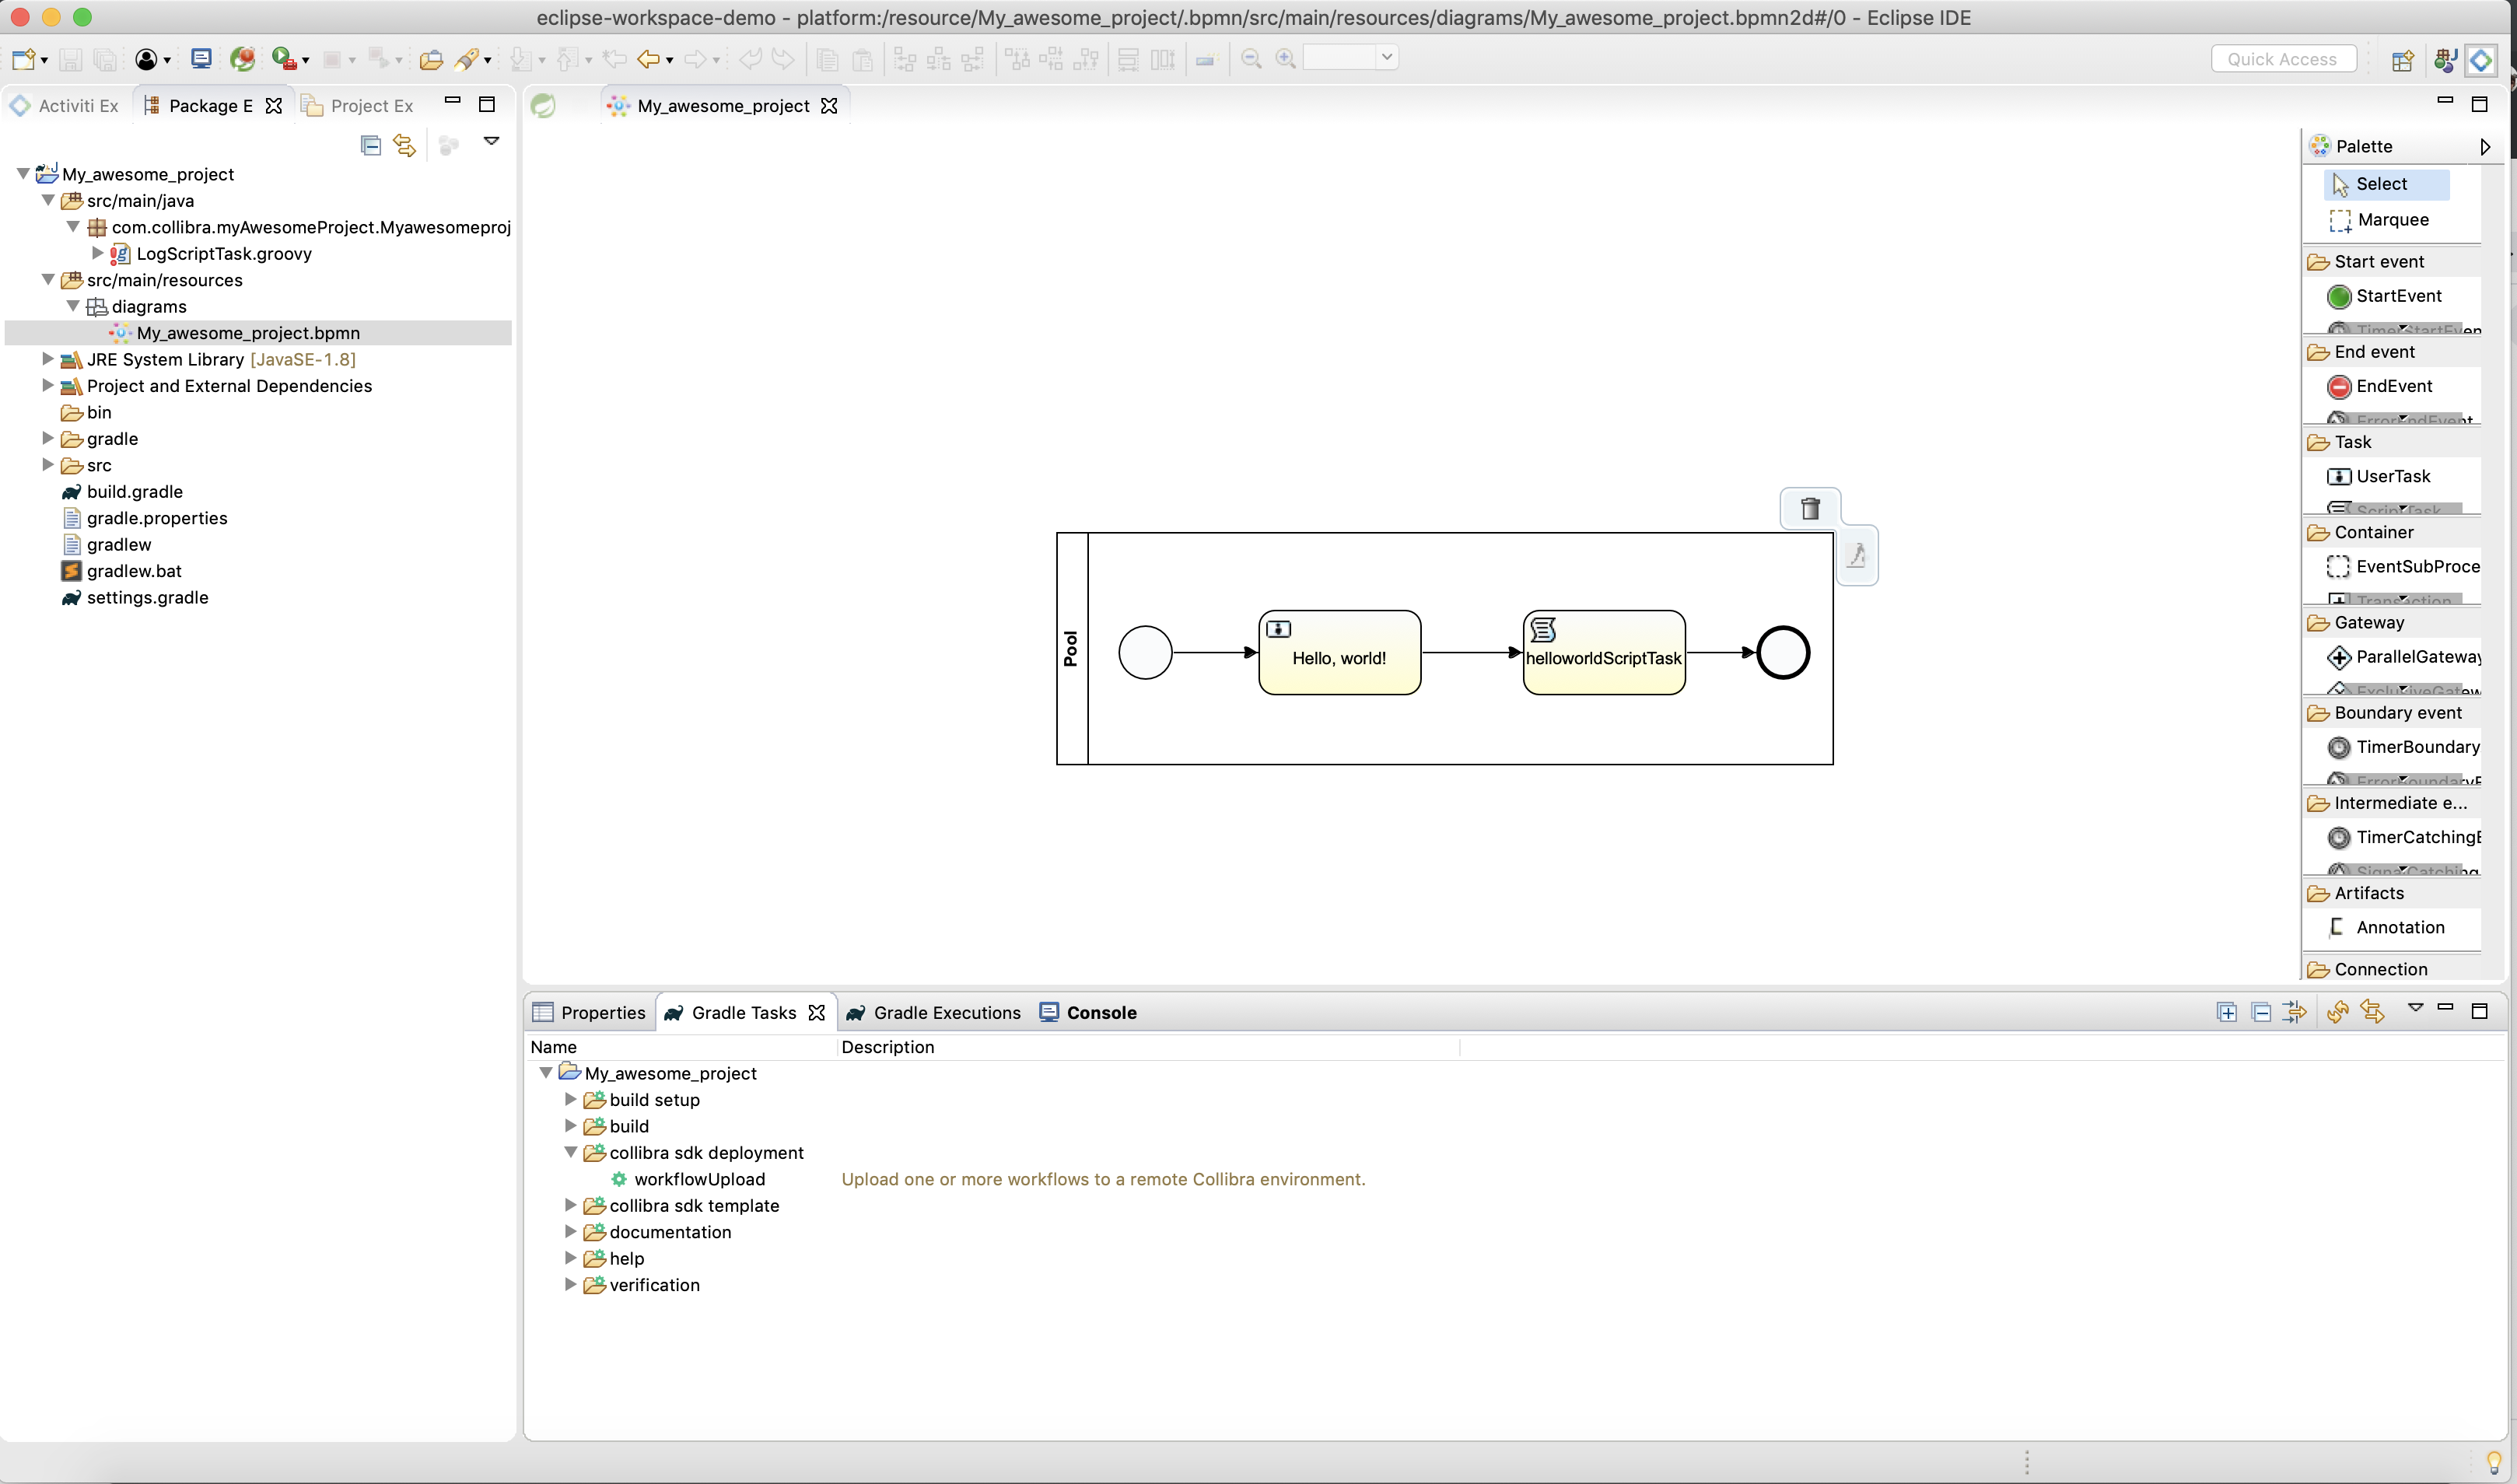
Import the project in Eclipse
You can import the generated project in Eclipse IDE as a Gradle project:
- In Eclipse, go to File → import.
- Select Gradle/Existing Gradle Project.
- For the Project root directory, select the created folder.
- Click Finish and wait for Eclipse to import and resolve all the dependencies.
Example of a project imported in Eclipse: